
Homemade Marshmallows

Homemade marshmallows are a marvel of fluffy sweetness that can elevate any dessert experience—from hot cocoa to s’mores. When you take a bite, you’ll find a delightfully light texture that melts in your mouth, leaving a gentle sweetness that lingers. This treat is not only simple to make but also ensures you know what goes into your snacks, unlike most store-bought versions packed with preservatives and artificial ingredients.
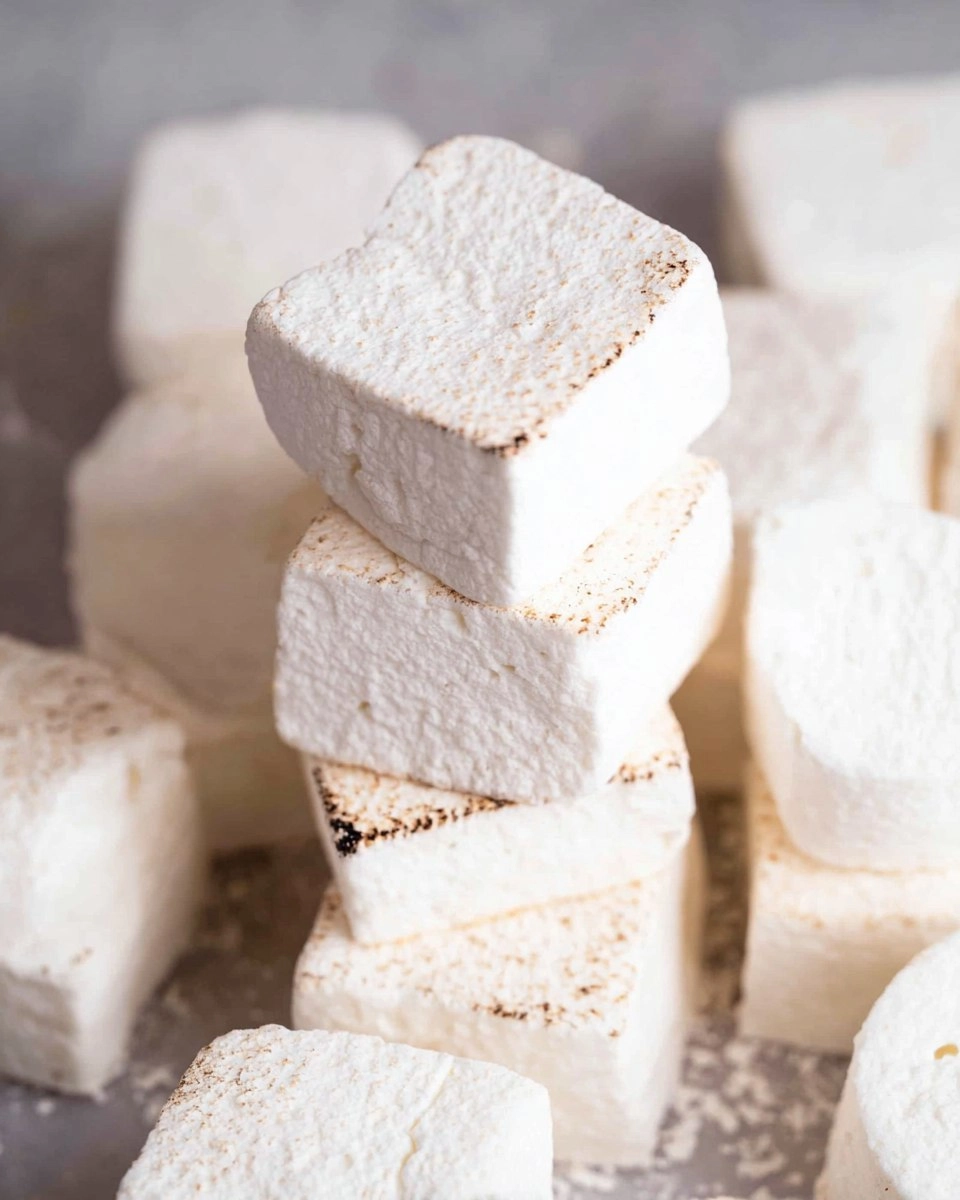
I still remember the first time I made these delightful homemade marshmallows in my kitchen. It was a chilly evening, and I craved something comforting and cozy. After following a simple recipe, the warm aroma filled my home, inviting my family to gather around. Whether you’re sharing them at a winter gathering or enjoying them solo while curled up with a good book, these marshmallows promise a touch of magic to your day. I can’t wait for you to bring this recipe to life in your kitchen!
Table of Contents
Why You’ll Love This Recipe
- Simple & Quick: Takes just about an hour of hands-on time (plus setting time) to create fluffy marshmallows.
- Irresistible Flavor: You’ll taste a rich vanilla essence combined with sweet, airy goodness.
- Eye-Catching Appeal: Freshly made marshmallows look charming and can be shaped or cut into fun sizes.
- Flexible Serving: Perfect for snacking, topping hot drinks, or as a sweet addition to desserts.
- Diet-Friendly Options: Naturally gluten-free and can be adapted for vegan recipes with alternative ingredients.
Ingredients You’ll Need
- 3/4 cup granulated sugar: This is the key ingredient that provides the fundamental sweetness. Make sure to use fine granulated sugar for the best texture.
- 1/3 cup light corn syrup: This ingredient helps create that perfect chewy texture while preventing crystallization. If you don’t have corn syrup, you can substitute with honey or agave syrup.
- Pinch of salt: A small amount of salt enhances the overall flavor, balancing out the sweetness.
- 6 tablespoons cool water: Essential for dissolving gelatin and creating the marshmallow mixture. Make sure to use cool water.
- 1 packet (2 1/2 teaspoons) unflavored gelatin powder: This gives your marshmallows that lovely, fluffy texture. Look for a high-quality brand for the best results.
- 1/2 teaspoon vanilla extract: Adds fragrant flavor to your marshmallows; opt for pure vanilla extract for a richer taste.
- 3/4 cup powdered sugar: Used for dusting the finished marshmallows to prevent sticking and to add an extra touch of sweetness.
How to Make Homemade Marshmallows
- Prepare the Pan: Start by lining an 8 or 9-inch loaf pan with parchment paper, making sure to spray it lightly with nonstick spray for easy removal later.
- Make the Sugar Mixture: In a medium saucepan, combine 3/4 cup granulated sugar, 1/3 cup light corn syrup, a pinch of salt, and 3 tablespoons of cool water. Turn the heat to high and allow it to come to a boil without stirring. Clip a candy thermometer to the pan’s edge to monitor the temperature.
- Dissolve Gelatin: While your sugar mixture is heating, add the remaining 3 tablespoons of cool water to a large mixing bowl. Sprinkle the 2 1/2 teaspoons of unflavored gelatin on top and let it sit for a few minutes—this will allow the gelatin to bloom properly before mixing.
- Combine & Beat: When the sugar syrup reaches 238 degrees Fahrenheit (soft ball stage), carefully stream it into the gelatin while using a hand mixer at medium speed. Be cautious to avoid splashing the syrup on the bowl edges as it will harden instantly.
- Whip It Real Good: Beat the mixture for an entire 10 minutes. It will thicken and turn glossy—this is a great time to sneak a taste if you’re curious about the texture!
- Mix in Vanilla: Once whipped, gently fold in 1/2 teaspoon of vanilla extract, mixing until well combined.
- Spread the Mixture: Pour the fluffy marshmallow mixture into the prepared loaf pan, smoothing the top with a spatula for an even finish.
- Set the Marshmallows: Allow the mixture to sit uncovered for at least 3 hours at room temperature. This step is crucial as it allows the marshmallows to set firmly.
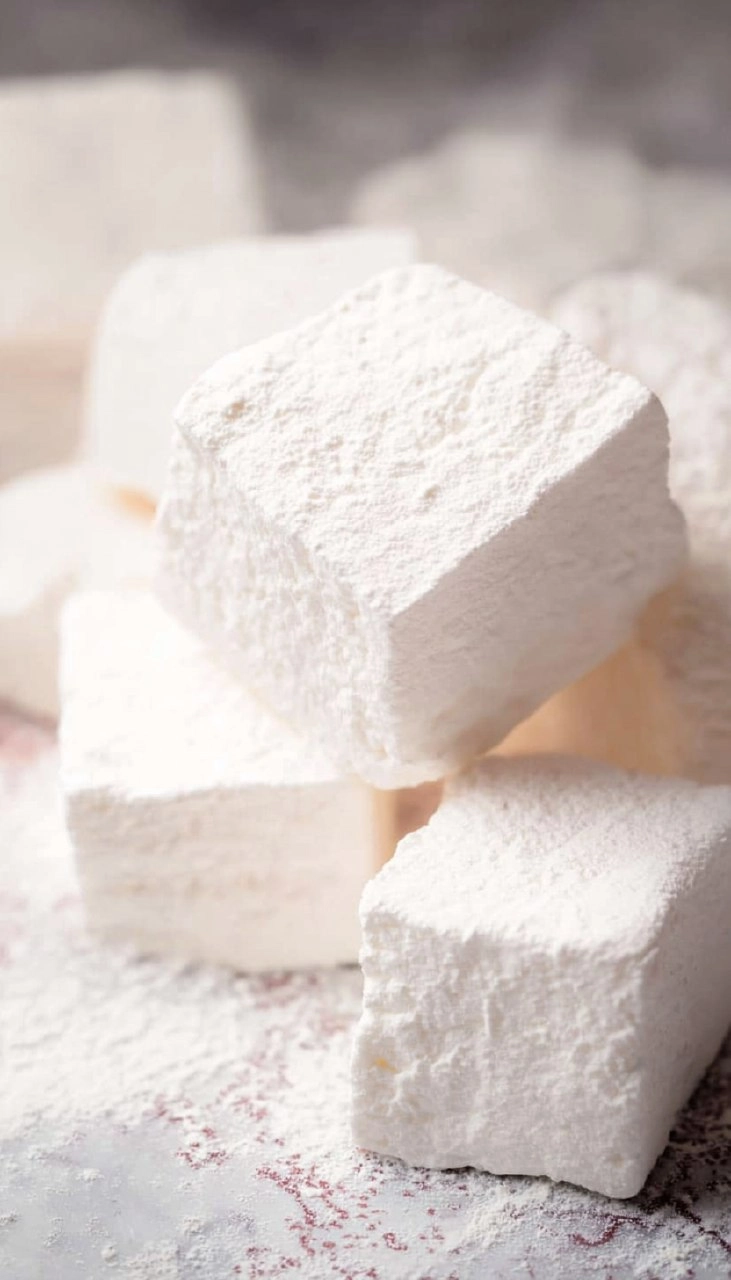
- Cut & Dust: Once set, sprinkle a light layer of powdered sugar on a clean work surface. Flip the marshmallow slab out of the pan and slice into squares, dipping your knife in powdered sugar between cuts to maintain clean edges. Make sure to roll all sides in powdered sugar to avoid stickiness.
- Store Properly: Assemble your marshmallows in an airtight container at room temperature, where they’ll stay fresh and delightful for 2-3 days.
Storing & Reheating
Store your homemade marshmallows in an airtight container at room temperature, where they’ll remain delicious for about 2-3 days. If you’d like to keep them longer, they can be refrigerated for up to one week or frozen for up to three months. While freezing and reheating aren’t typically needed, if you find them slightly firmer, you can let them come back to room temperature or warm them gently in the microwave for about 10-15 seconds.
Chef’s Helpful Tips
- No Stand Mixer? No Problem!: A hand mixer works perfectly for whipping the marshmallow mixture; just ensure your bowl is big enough.
- Avoid Hardening: Keep a close eye on the sugar syrup as it heats; if it overshoots the 238°F mark, the marshmallows may be too firm.
- Experiment with Flavors: Feel free to infuse your marshmallows with extracts like almond, peppermint, or even citrus for a fun twist!
- Common Mistakes: Ensure the gelatin is fully dissolved before adding the syrup; if it’s not, it can cause the mix not to whip up properly.
- Make Ahead: These marshmallows can be made a day in advance, making them a wonderful treat for gatherings!
It’s absolutely thrilling that you’ve taken the step to create homemade marshmallows. The subtle sweetness combined with a pillowy texture will add a personal touch to your gatherings and cozy evenings alike. You’ll delight in the process of making these treats—from the measuring to the whipping, and ultimately to the tasting! Don’t be afraid to play with flavors and shapes as you get comfortable with the recipe. Enjoy!
Recipe FAQs
How do I store leftover marshmallows?
Can I flavor my homemade marshmallows?
Why did my marshmallow mixture not whip up?
Can I make these marshmallows vegan?
⭐ If you make my Homemade Marshmallows recipe, Awesome! I would love to hear from you. Please give it a star rating and review below! 👇
Homemade Marshmallows
These homemade marshmallows are a delicious treat that anyone can make! With simple ingredients like sugar and vanilla, you will enjoy their irresistible flavor and fluffy texture.
- Prep Time 10 minutes
- Cook Time 10 minutes
- Yield 8 servings 1x
Ingredients
- 3/4 cup granulated sugar
- 1/3 cup light corn syrup
- pinch of salt
- 6 tablespoons cool water
- 1 packet (2 1/2 teaspoons) unflavored gelatin powder
- 1/2 teaspoon vanilla extract
- 3/4 cup powdered sugar
Instructions
- Line an 8 or 9-inch loaf pan with parchment paper and spray it with nonstick spray.
- In a medium saucepan, combine granulated sugar, corn syrup, salt, and 3 tablespoons of water, then bring to a boil over high heat without stirring. Use a candy thermometer, and boil until the mixture reaches 238 degrees Fahrenheit.
- Add the remaining 3 tablespoons of water to a large bowl, and sprinkle the gelatin on top. Let it sit without stirring for a few minutes.
- Once the sugar syrup reaches 238, slowly stream it into the gelatin mixture while beating with a hand mixer. Be careful not to splash syrup on the bowl's edges, as it will harden as soon as it touches.
- Beat the mixture for a full 10 minutes until fluffy.
- Stir in the vanilla extract until well combined.
- Spread the mixture into the prepared loaf pan.
- Allow the mixture to set uncovered for at least 3 hours.
- When ready to cut, sprinkle powdered sugar on a work surface, dump the marshmallows out, and slice the marshmallows, dipping the knife in powdered sugar between cuts. Roll the edges of the marshmallows in powdered sugar after cutting.
- Store the marshmallows in an airtight container at room temperature, where they will keep for 2-3 days.
Notes
Make sure to use a hand mixer for better results.
Store marshmallows in an airtight container to maintain their softness.
Feel free to add food coloring or flavored extracts for variation.
Nutrition
- Serving Size: 1 marshmallow
- Calories: 130
- Sugar: 29g
- Sodium: 5mg
- Fat: 0g
- Saturated Fat: 0g
- Unsaturated Fat: 0g
- Trans Fat: 0g
- Carbohydrates: 31g
- Fiber: 0g
- Protein: 0g
- Cholesterol: 0mg
Nutritional information is an estimate. The nutritional values for your final dish may vary based on measuring differences and products used.